

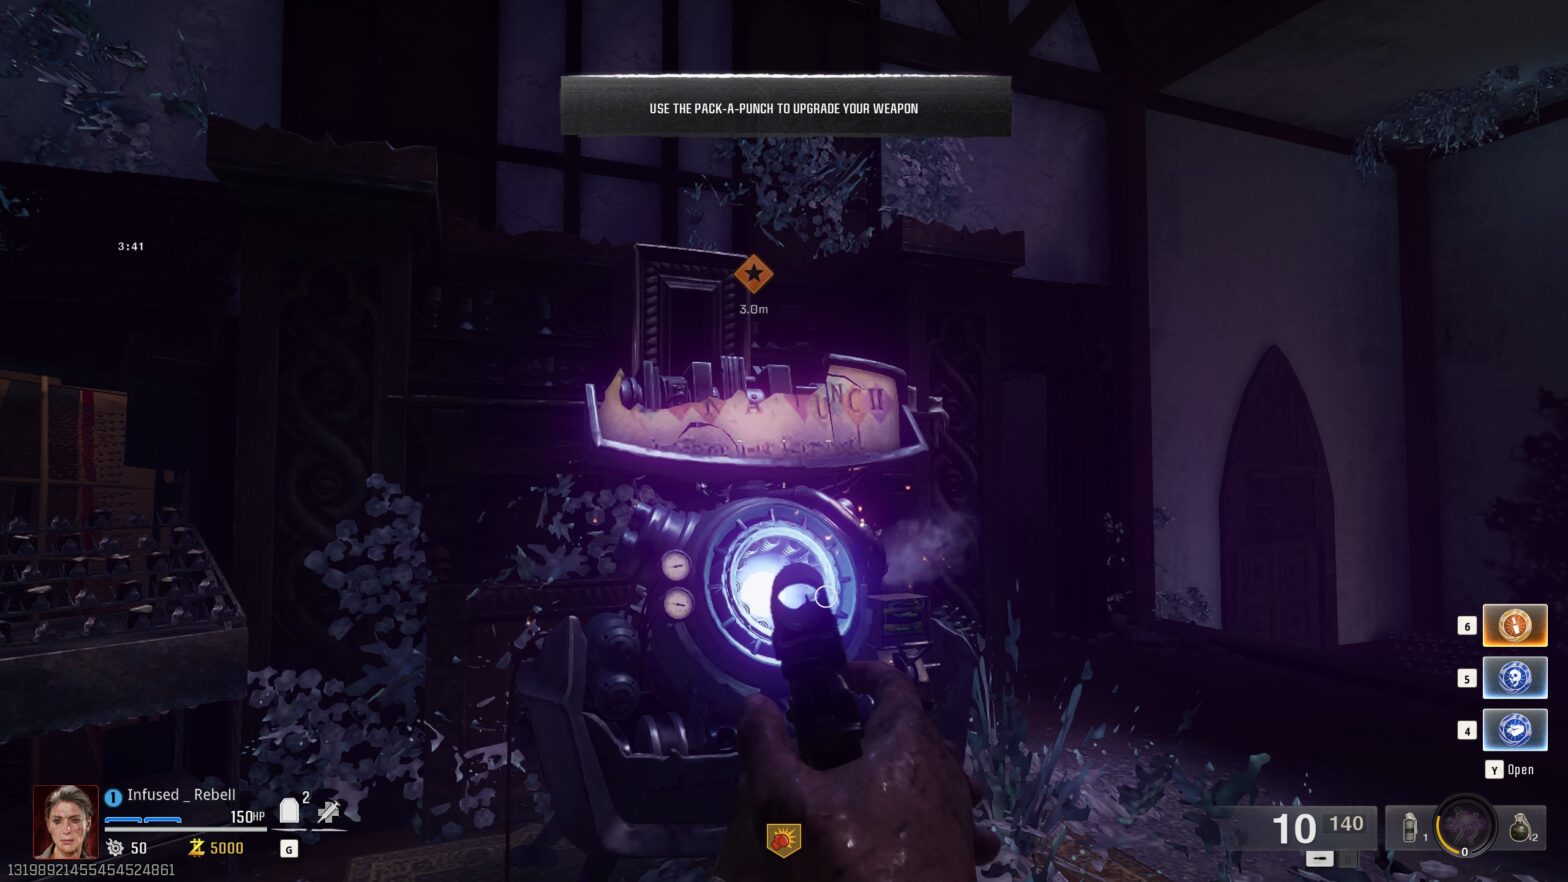
Warzone’s dynamic combat environment rewards operators who fine-tune their weapon loadouts to match map conditions, engagement ranges, and playstyles. Beyond simply selecting the most popular guns, advanced weapon tuning involves optimizing attachments, balancing recoil control against mobility, and tailoring builds for specific scenarios—whether dropping into tight urban areas, traversing open fields, or preparing for late-game circles where every bullet counts.
In this guide, we’ll dive into the intricacies of attachment selection, aim training for different recoil patterns, and situational adjustments to ensure your weapon remains dependable in all match phases. By mastering these tuning principles, you’ll craft loadouts that adapt seamlessly to evolving combat zones, granting you a decisive edge over less-prepared opponents.
Understanding Recoil Patterns and Control Trade-Offs
Every weapon in Warzone exhibits a unique recoil pattern—a combination of vertical climb and horizontal drift—that you must compensate for during sustained fire. The first step in advanced tuning is analyzing raw recoil data: use the firing range to identify how a given weapon diverges from its initial aim point after twenty consecutive rounds. Weapons with primarily vertical recoil are generally easier to manage by pulling down consistently, whereas those with horizontal zig-zag patterns (like SMGs such as the Lachmann Sub) require a combination of horizontal and vertical adjustments for accurate tracking. Recoil control attachments—such as foregrips and muzzle devices—often reduce either vertical or horizontal recoil percentage by about 10–15%, but this comes at the cost of reduced ADS speed or movement speed.
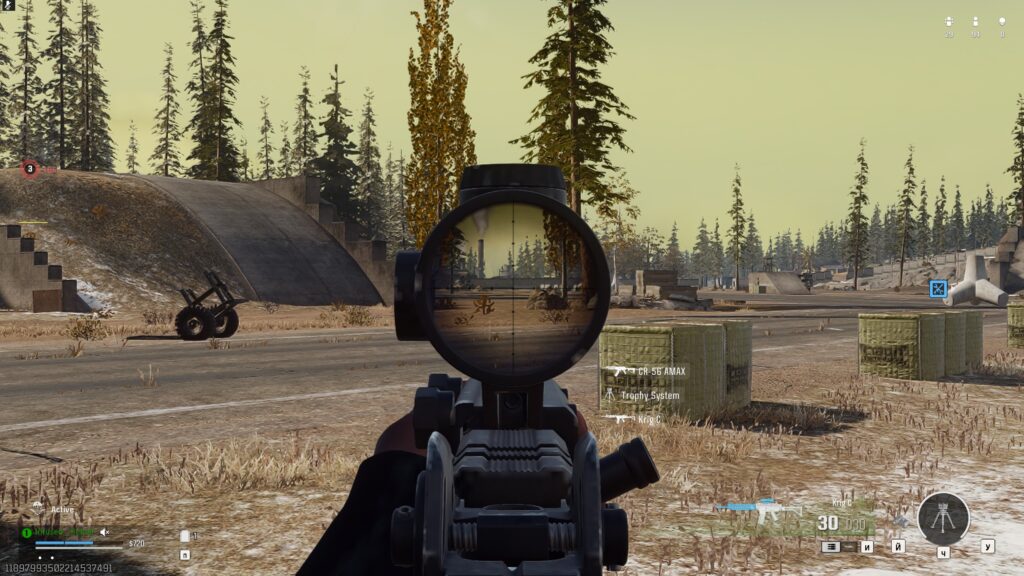
Balancing these trade-offs is scenario-dependent: an AR used for mid-range engagements (e.g., the Kastov-74U outfitted with a Monolithic Suppressor, 19.7” Long Barrel, Tigershark Grip, and Commando Foregrip) might sacrifice 10% ADS speed to gain 12% overall recoil reduction, ensuring consistent headshot potential at 30–40 meters. Conversely, if you anticipate frequent close-quarter battles—such as in Shipment or Downtown—prioritize mobility attachments (like a lightweight barrel and laser) to maintain speed and quick ADS turns, accepting slightly higher recoil since TTK remains fast. By categorizing maps into engagement zones (close, mid, long), you can assign tuning priorities—mobility for close, recoil control for mid, and range/velocity for long-range—creating loadout templates that adapt to each scenario’s demands.
Attachment Synergy: Building Around Key Stats
Advanced tuning hinges on identifying which attachments provide the greatest performance boost relative to the scenario. Key stats include bullet velocity, ADS time, recoil control, hip-fire spread, and movement speed. Creating a synergy table—like the one below—helps visualize attachment interactions for each weapon class. For example, assault rifles (ARs) often benefit most from increased bullet velocity and damage range, because landing shots at farther distances counts more than hip-fire stability. In contrast, SMGs require hip-fire accuracy and ADS speed for swift close engagements, while sniper rifles focus on bullet velocity and ADS aim stability.
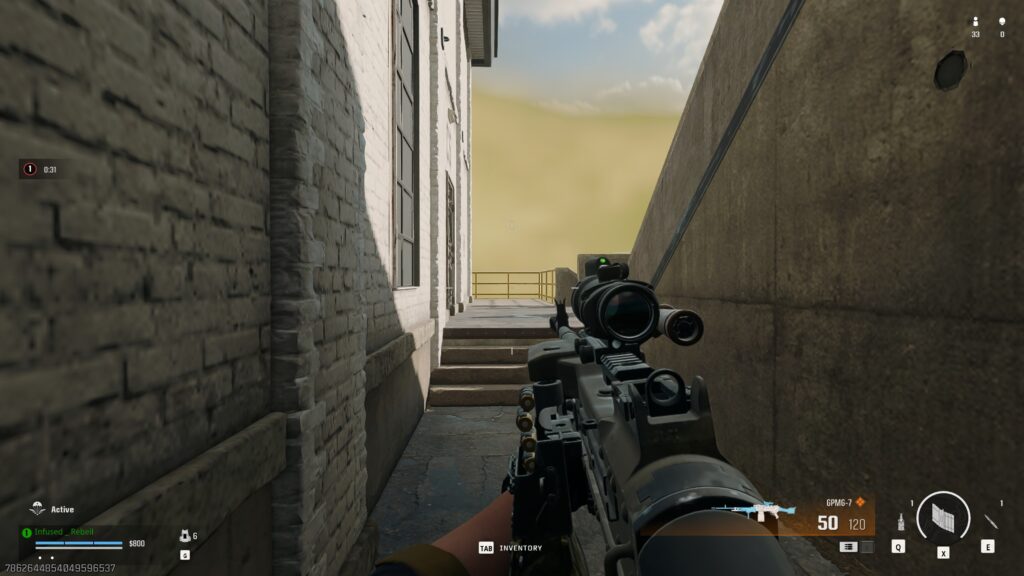
This synergy table categorizes attachments by stat emphasis and suggests top picks for each category, enabling rapid configuration of weapons like the M4 (mid-range AR), Lachmann Sub (close-range SMG), and TAQ-V (long-range SR). By using this framework, you avoid attachment conflicts—such as equipping two recoil-reducing grips that both negate ADS speed—and instead ensure each slot maximizes its intended purpose. The resulting builds will seamlessly adapt when you switch from urban drop zones like Power Plant to open fields around Pines or Radar Station.
Case Studies: Scenario-Based Loadouts
Practical examples illustrate tuning principles in action. In a late-game circle scenario on Rebirth Island—characterized by small, close-quarters spaces—you might use a run-and-gun weapon like the Vaznev-9K with SA Enhancer muzzle (+5% ADS speed, +7% mobility), XRK M.4 barrel (+10% damage range), and 60-round mag for sustained fire, prioritizing maximal mobility and reliable TTK under pressure. Alternatively, on mid-sized Warzone maps such as Satellite Station’s mid-lanes, equip the MCW 556 with a 15.7” Tundra Pro barrel, Bruen Q900 Grip, and Monolithic Suppressor for a balance of recoil control and stealth, enabling you to engage at 50–70 meters with minimal hip-fire drawbacks.
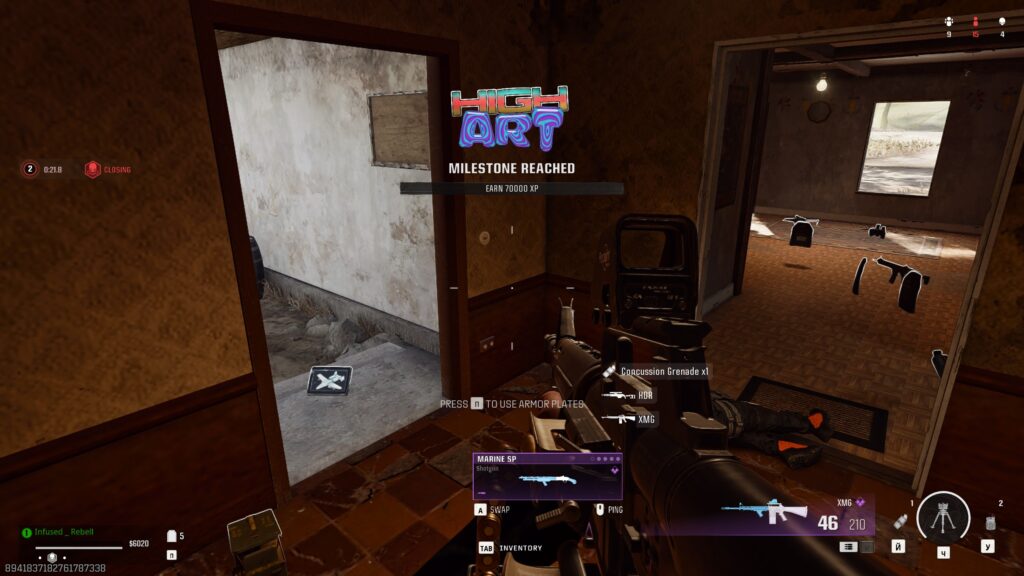
For long-range overwatch in open maps like Pines, the Victus XMR should use an XRK Long Barrel, Thermal Digital Sight, and Snatch Grip to achieve one-shot headshot potential beyond 200 meters, while retaining stable handling for rapid follow-ups. These case studies underline that no single “meta build” suits every situation; instead, successful players carry multiple tuned templates, swapping attachments based on circle locations, expected engagement distances, and team roles—whether holding high ground or pushing through corridors.
Advanced Tuning Reference Table
| Weapon Class | Key Stat Focus | Top Attachments | Scenario | Performance Trade-Offs |
|---|---|---|---|---|
| Assault Rifle | Recoil Control & Bullet Velocity | Monolithic Suppressor, 15.7” Task Force Barrel, Commando Foregrip, 60-Round Mag | Mid-Range Engagements (50–100m) | −10% ADS Speed, +12% Damage Range |
| SMG | Mobility & Hip-Fire Spread | SA Enhancer Muzzle, XRK M.4 Barrel, 60-Round Mag, Stippled Grip Tape | Close-Quarters Fights (<25m) | −8% Recoil Control, +15% ADS Speed |
| Sniper Rifle | ADS Stability & Bullet Velocity | XRK Long Barrel, Monolithic Suppressor, Thermal Digital Sight, Snatch Grip | Long-Range Overwatch (>200m) | −10% Movement Speed, +20% Damage Range |
| LMG | Sustained Fire & Recoil Mitigation | Select Fire Grip, 14.5” Tri-Tac Barrel, 100-Round Belt, Thermal Sight | Holding Choke Points & Area Denial | −12% ADS Speed, +18% Damage Range |
| Marksman Rifle | ADS Stability & Zoom Flexibility | 31.7” ProStock Barrel, Forge Tac Omega Optic, Heavy Stock, Snatch Grip | Medium-Long Range Rotations (75–150m) | −8% ADS Speed, +14% Bullet Velocity |
Fine-Tuning Tips and Practice Drills
After establishing a scenario-based build, refine your control through targeted practice. Use private match firing ranges to dial in recoil compensation: set a test environment with twenty targets at varying distances, then adjust your pull-down technique to match each weapon’s unique pattern. Next, conduct timed shooting drills—such as clearing ten targets at 50 meters within a set time—to evaluate the trade-offs between ADS speed and recoil control. To train adaptability, cycle through three different tuned loadouts per session: close-range SMG, mid-range AR, and long-range SR.
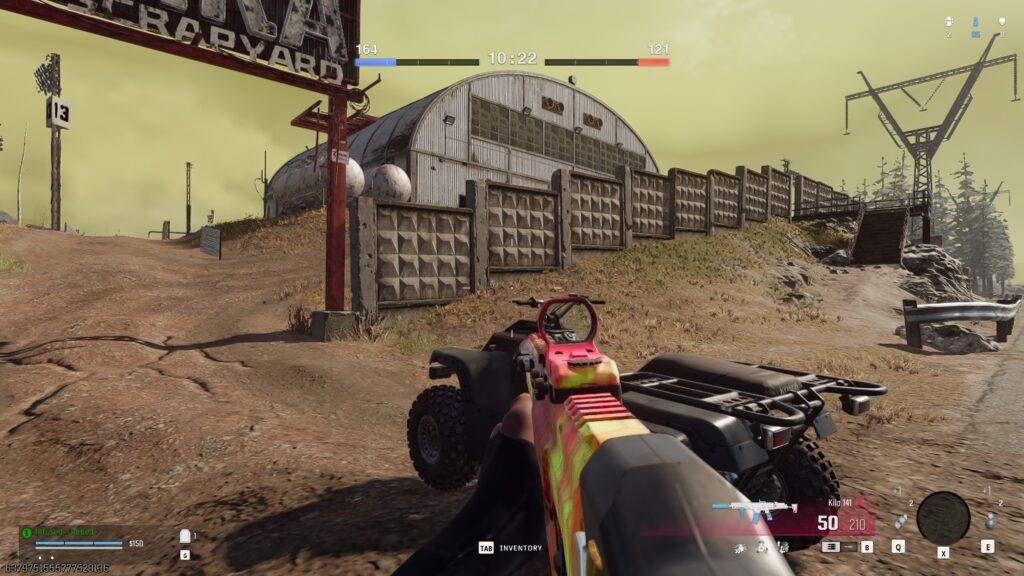
Record your performance metrics (accuracy percentage, TTK, number of missed shots) and iterate attachment swaps if you consistently underperform in a category. Additionally, in live matches, monitor kill-cam feedback to identify if recoil controls need tweaking—if your final shots drift high or wide, consider adding small increments of stability attachments. Over time, these fine-tuning practices ingrain the muscle memory needed to handle recoil under pressure, smoothing your transition across scenarios and ensuring your weapon performs at its peak when it matters most.
Conclusion
Advanced weapon tuning in Warzone involves more than copying a pro’s loadout—it requires understanding each weapon’s underlying stats, attachment trade-offs, and scenario-specific demands. By dissecting recoil patterns, prioritizing key stats like bullet velocity and ADS stability, and applying the Advanced Tuning Reference Table, you can craft weapons that excel in any engagement, from chaotic urban firefights to tense long-range duels.
Regularly practicing recoil compensation drills, testing loadouts in private ranges, and adjusting attachments based on real-world performance feedback ensure your setups remain optimized as the meta evolves. Armed with these insights, you’ll navigate Warzone’s fluid combat landscape with confidence—transforming every encounter into an opportunity to outgun, outmaneuver, and ultimately outlast your opponents.
Hey there! I’m Susan Sullivan, a gaming journalist with a penchant for discovering hidden virtual realms. Armed with a keyboard and an insatiable curiosity, I dive headfirst into pixelated landscapes, unearthing untold stories and weaving them into vivid narratives that transport readers to uncharted gaming territories. From unearthing forgotten Easter eggs to decoding complex game mechanics, I’m your go-to guide for all things gaming. With a cup of coffee always by my side, I embark on a quest to bring you the latest gaming scoop, unraveling virtual mysteries one pixel at a time. Join me on this epic adventure!
- Latest Posts by Susan Sullivan
-
Incredible Environmental Easter Eggs and Hidden Details You Completely Missed in the Arc Raiders Hub Area
– -
The Absolute Best PC Graphics Settings to Maximize FPS and Reduce Input Lag in Arc Raiders Competitive Play
– -
Buddy Rescue How to Extract Wounded Teammates
– All Posts


Leave a Reply