


Rebirth Island has long been a crucible of frenetic firefights and high-stakes decision-making. With its recent overhaul in Season 4, the map now presents new pathways, reconfigured buildings, and updated loot spawns that demand fresh strategies.
Mastery of the revamped terrain can mean the difference between an early elimination and a triumphant escape. In this article, we’ll explore each major zone—highlighting changes, optimal rotation paths, and key vantage points—so that whether you drop from the very start or rotate in late, you can leverage the updated map to outmaneuver opponents, secure high-tier loot, and orchestrate cunning ambushes. By internalizing these tactical insights, you’ll unlock new avenues for dominance on Rebirth Island.
North Side Overhaul: From Chapel to Quarry
The northern half of Rebirth Island underwent substantial changes, reshaping routes between Chapel, the old hospital site, and Quarry. The Chapel now features an additional mezzanine level—accessible via a broken staircase on the west side—that offers a direct line of sight into the adjacent compound courtyard. This new vantage point is ideal for early-game sniper peeks or suppressive fire on rotators exiting north compounds. The hospital has been downsized, with its interior split into two separate wings connected by a catwalk, making close-quarter engagements more unpredictable.
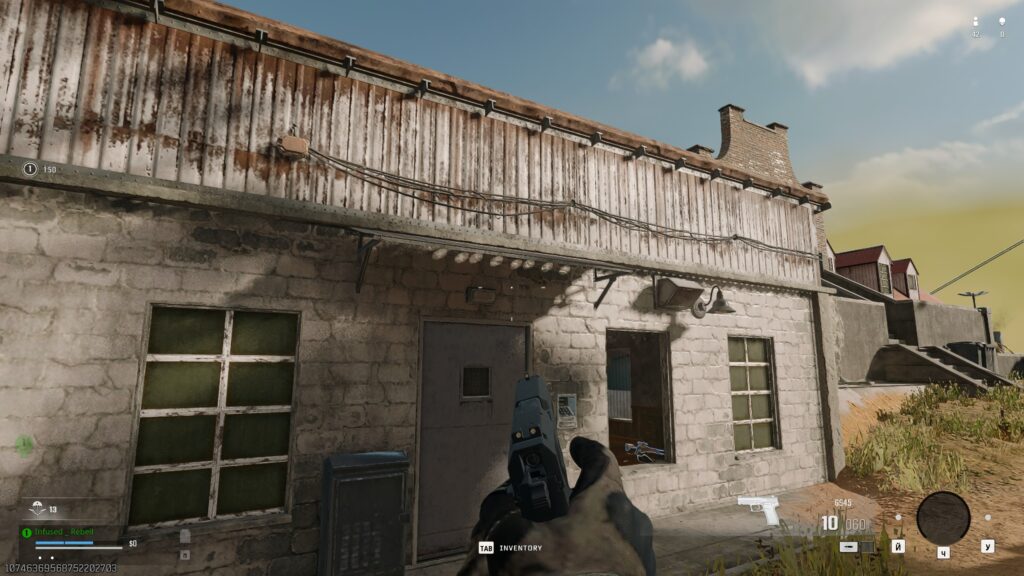
Quarry, previously a sprawling pit, now includes elevated shale platforms that provide easier access to its central mining equipment—granting mid-game teams rapid rotations to both north and central zones. Players rotating from Prison can now utilize a newly added high-arching zipline located just east of the old water tower to descend safely into Quarry’s lower tunnels, circumventing common choke points. The repositioned loot crates in Chapel now guarantee at least one high-tier weapon spawn, so dropping there early can secure an advantage for squads willing to fight through initial proximity engagements. Understanding these alterations and practicing rotations—such as pushing from Chapel mezzanine to halfway down Quarry’s shale platform, then looping back to hospital catwalk—enables you to maintain high ground tempo while denying your opponents safe corridors.
Central Zone Dynamics: Dorms, Launch Site, and Geyser Fields
The island’s central area remains the heart of chaotic skirmishes, but its landscape has evolved significantly. Dorms now feature reinforced interior walls—players can no longer breach certain doorways, funneling movement into predictable corridors. The launch site boasts a revamped control tower with a revamped anti-air battery, which provides cover and a vantage over both dorms and the adjacent Geyser Fields. This area of thermal vents now features active geysers that erupt intermittently—launching players into the air for surprise aerial attacks or abrupt descents into lower tunnels. Exhibiting situational awareness in Geyser Fields is paramount: entering a vent without checking above or below can result in an abrupt ambush from players using the air as cover.
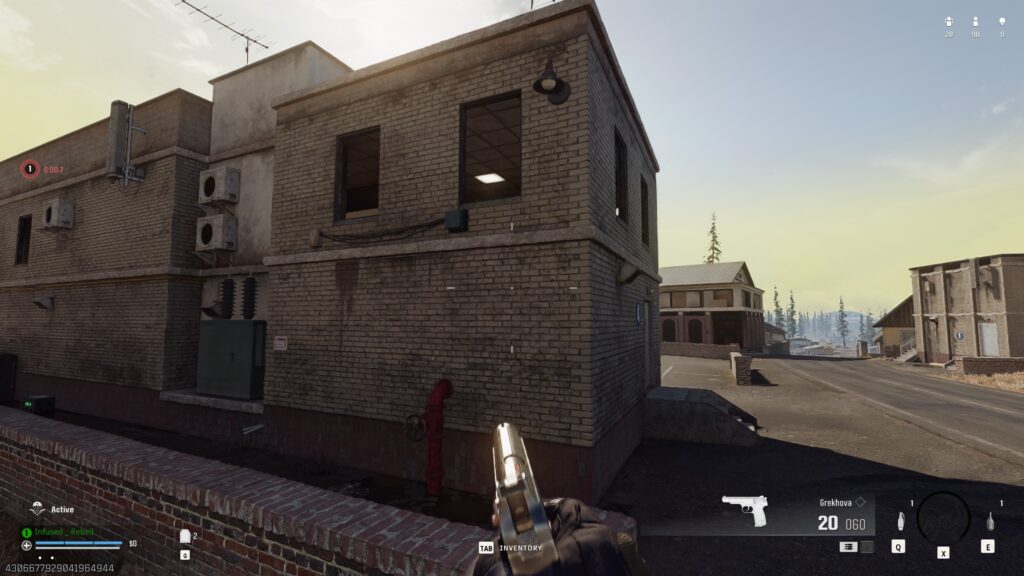
The shipping containers near the launch pad have been rearranged to form a tighter honeycomb of cover, creating narrow engagement angles and forcing players to master quick peeks. Intermediate squads should capitalize on the control tower’s new access points: a hidden ladder on the east face leads to a maintenance hatch above the second floor, granting silent entry that bypasses the heavily contested main stairs. Learning these modified pathways—such as dropping from the dorm roof, sliding down the western chimney, and popping up behind container cover—ensures you can exploit the island’s pulse points. Central rotations also now include a slide-down rope near the launch’s northern fence, fast-tracking players into Geyser Field’s interior for quick flanks or loot runs.
South Sector Changes: Prison, Labs, and Tower
The southern sector’s reconfiguration alters late-game strategies significantly. The Prison, once a static two-story building, now features a collapsed roof section on the eastern wing—creating unpredictable sightlines and an elevated breach route into the west wing’s solitary corridor. Laboratories immediately adjacent to the prison have introduced two new laboratory pods connected by glass tunnels; these pods contain high-tier loot but expose players to multiple angles of attack both from inside the labs and from the rocky ledges outside. The water tower near the labs has a new internal spiral staircase leading to a roof hatch—allowing dynamic repositioning above the labs without using ladders exposed to enemy fire.
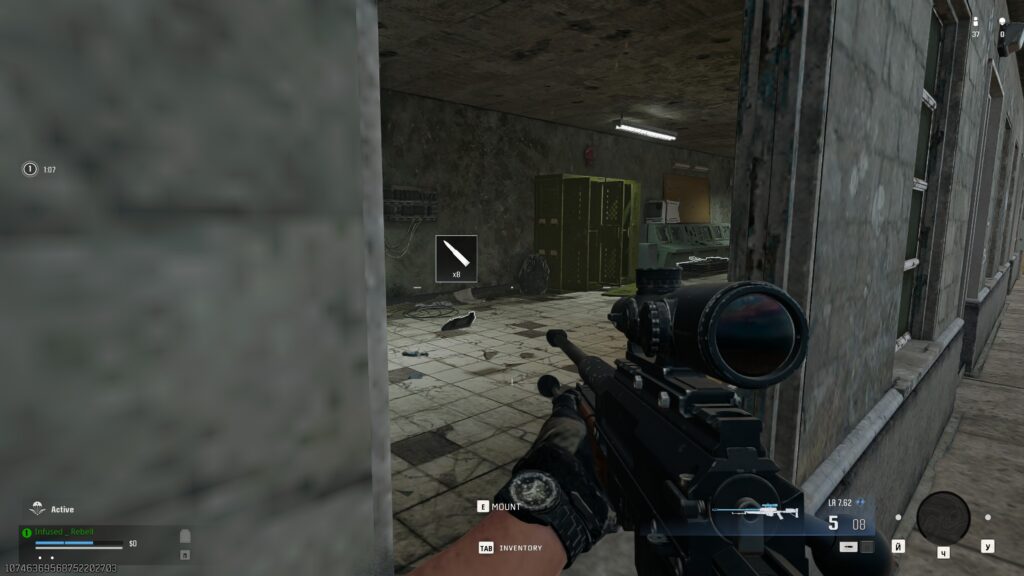
The—and watchtower itself has been retrofitted with reinforced guardrails, reducing head-glitch potential but offering cover behind its thicker metal bars. Additionally, the old dock area below the prison is now flooded—forcing waterlogged routes that slow movement and reduce aiming stability. For teams rotating in late, this changes push timings: instead of sprinting directly from prison yard to labs, rotating squads must drop from the tower’s hatch into a narrow tunnel behind the labs, avoiding exposure. The transition from labs to tower now includes a new zipline behind a metal scaffold, allowing players to quickly ascend to the tower roof for overwatch. Understanding these changes is crucial for closing circles—knowing the best way to traverse from the collapsed prison roof into lab pods can mean reaching the final safe zone before opponents. Navigating the South Sector demands both map knowledge and relentless practice to exploit these updated routes while controlling high-value loot zones.
Vehicle Integration and New Loot Spawns
While Rebirth Island traditionally eschewed vehicles, Season 4 introduces limited-use ATVs parked near spawn points in Chapel, Fortunes Keep, and Pipeline. These ATVs, when operational, have minimal protection but offer extreme mobility—allowing squads to outrun contracting circles or execute surprise rotations across open terrain. Learning spawn timings and ATV locations is essential: the Chapel’s ATV arrives 45 seconds into the match, whereas the Fortunes Keep ATV spawns at the five-minute mark. Using ATVs to flank unexpecting dorms defenders can flip late-game engagements if used judiciously. New loot spawns in laboratories now include “Military Crates” that guarantee a plate carrier, two armor plates, and three plates worth of high-speed plates for immediate defense.
The prison’s collapsed wing houses a “Field Pack” spawn—providing tactical equipment and a unique throw-in set of stun grenades—for rapid breaching. Familiarity with these spawn timers and chest locations is crucial for equipping your squad ahead of peak firefight periods. Additionally, an open-air cargo lift near the launch site occasionally deposits weapon blueprints—rare items that unlock high-tier attachments unattainable elsewhere on the map. Teams should time their presence around these crates: arriving just as a crate lands from the lift confers significant firepower advantages. Mastering both vehicular routes and newly introduced loot spawns positions you to leverage the revamped Rebirth Island for maximum tactical benefit.
Key Tactical Hotspots and Rotation Routes
| Hotspot | Strategic Advantage | Best Rotation Entry | Late-Game Viability |
|---|---|---|---|
| Chapel Mezzanine | High ground overlooking compound, early sniper perch | North compound rooftops via zipline to mezzanine | Moderate; becomes isolated if circle shifts south quickly |
| Quarry Shale Platform | Mid-range control between Chapel and Hospital, line of sight across valley | Descend from new rope path east of water tower | High; provides cover and escape through southern tunnels |
| Lab Pods | High-tier loot spawns, control over southern rotation | Slide down scaffolding zipline from tower roof | High but contested; risk from multiple approach angles |
| Launch Site Control Tower | 360-degree oversight of central and north areas | Spiral staircase inside tower or breach from adjacent scaffolding | Moderate; exposed if circle contracts to dorms or Geyser Fields |
| Pipeline Tunnels | Concealed path connecting north to south, ideal for stealth rotations | Enter near Pipeline storage lockers, exit near labs underwater | High; low visibility to enemy, critical for late-game flanks |
Conclusion
The Rebirth Island revamp brings a host of changes—new levels, updated loot spawns, added vehicles, and restructured transit paths—that reward players who adapt swiftly. By mastering the overhauled Chapel mezzanine, Quarry shale platforms, and revamped lab pods, and by harnessing ATVs and new military crate spawns, you gain tactical advantages that can dictate match flow.
Memorize rotation routes via zip lines, tunnels, and scaffold slides to stay one step ahead of the competition. With these insights and the hotspot table as a quick reference, you’ll be ready to exploit Rebirth Island’s updated layout for consistent dominance and optimal looting efficiency. Embrace these strategies, refine your rotations, and watch as your win rate climbs in this new era of Rebirth Island combat.
Hey there! I’m Susan Sullivan, a gaming journalist with a penchant for discovering hidden virtual realms. Armed with a keyboard and an insatiable curiosity, I dive headfirst into pixelated landscapes, unearthing untold stories and weaving them into vivid narratives that transport readers to uncharted gaming territories. From unearthing forgotten Easter eggs to decoding complex game mechanics, I’m your go-to guide for all things gaming. With a cup of coffee always by my side, I embark on a quest to bring you the latest gaming scoop, unraveling virtual mysteries one pixel at a time. Join me on this epic adventure!
- Latest Posts by Susan Sullivan
-
Incredible Environmental Easter Eggs and Hidden Details You Completely Missed in the Arc Raiders Hub Area
– -
The Absolute Best PC Graphics Settings to Maximize FPS and Reduce Input Lag in Arc Raiders Competitive Play
– -
Buddy Rescue How to Extract Wounded Teammates
– All Posts


Leave a Reply