

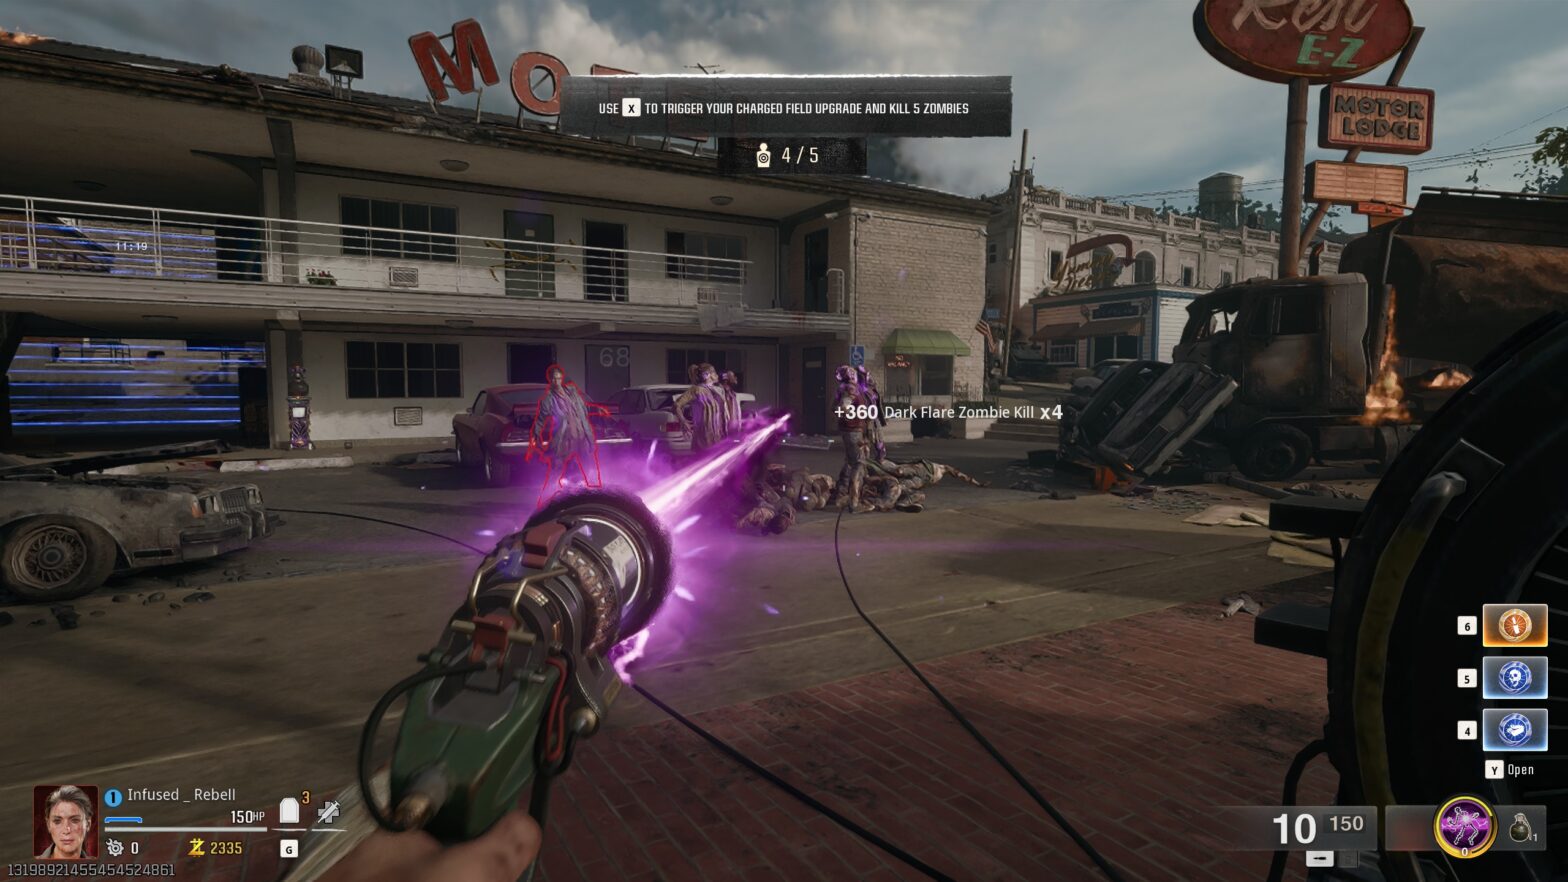
Surviving the relentless hordes in Call of Duty’s Zombie mode requires more than quick reflexes—it demands carefully crafted builds that balance firepower, mobility, and sustainability. Whether you’re fending off the first round’s shambling undead or fighting through to Round 50, selecting the right mix of weapons, attachments, and perks can mean the difference between going down early or racking up high rounds with your squad.
In this comprehensive guide, we’ll explore the optimal loadouts for solo players and teams alike, covering primary and secondary weapons, attachment synergies, and perk combinations tailored to various strategic approaches: run-and-gun, camping, and crowd control. By understanding each build’s strengths and limitations, you’ll be equipped to adapt to escalating rounds, maximize point efficiency, and ensure you—and your teammates—remain the last survivors standing among the undead.
Elemental Core Build: Balancing Crowd Control and Mobility
The Elemental Core Build centers on using a medium-rate-of-fire assault rifle paired with a crowd-control secondary, enabling you to clear waves effectively while retaining the flexibility to move between safe zones. Opt for an assault rifle such as the Kastov-74U outfitted with a 19.7” Long Barrel, Tigershark Grip, Monolithic Suppressor, and 45-Round Mag. This configuration offers sufficient damage per shot and range extension to one-shot zombies up to mid-rounds while maintaining manageable recoil. As a secondary, equip the Combat Shotgun with a Sawed-Off Barrel, Dragon’s Breath rounds, and Slug Ammo to blast down clusters at close range during tight situations.
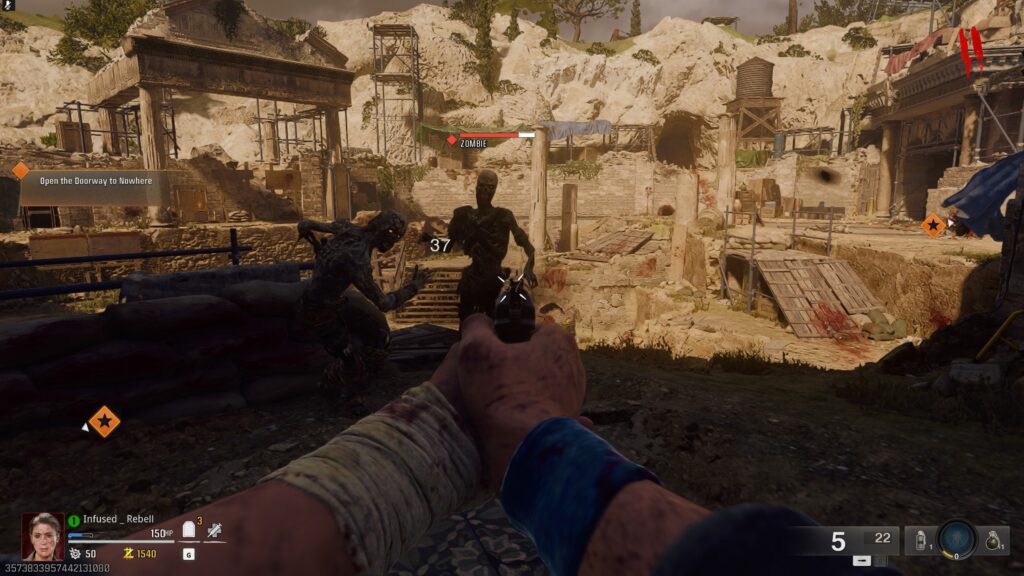
For perk selection, the combination of Juggernog, Speed Cola, and Deadshot Daiquiri ensures higher survivability, faster reloads, and auto-aim assistance on critical headshots. Early rounds should focus on point-building with the assault rifle’s moderate recoil, then transitioning to the shotgun once rounds exceed 15. In addition, pack the Monkey Bomb field upgrade to distract enemies and the Ring of Fire tactical to slow incoming waves in chokepoints. This build excels in mid-to-late rounds by controlling crowd density with Dragon’s Breath incendiary shells and retreating quickly thanks to high mobility, making it a versatile choice for both solo run-and-gun and coordinated team play.
Heavy Gunner Build: Maximum Suppressive Fire and Durability
The Heavy Gunner Build focuses on mounting a light machine gun (LMG) with high magazine capacity and sustained fire, coupled with a robust defensive perk set to withstand overwhelming hordes. The MG 82 stands out when tuned with a Select Fire Grip, 14.5” Tri-Tac Barrel, and 100-Round Belt, delivering extended ammo reserves and reduced recoil for targeted suppressive bursts. Pair this with a secondary launcher like the RPG-7 for emergency rounds when zombies breach point gaps, ensuring you can clear crowds even when low on ammo.
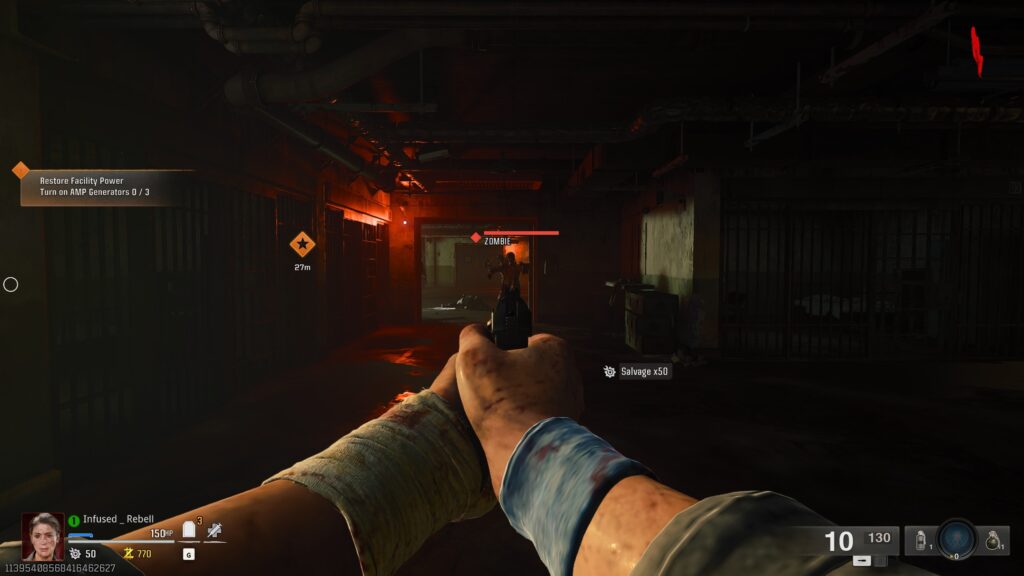
For perks, the combination of Juggernog, Speed Cola, and Stamin-Up ensures that you can take more hits, reload faster, and sprint longer to reposition under heavy pressure. Add Dead Wire as a field upgrade to electrify nearby zombies, preventing them from crawling or sprinting, and deploy the Barrier option to place fortified fences that funnel zombies into predictable kill zones. This build is particularly effective in later rounds (25+), where zombie speed and HP increase significantly—sustained LMG fire suppresses advancing waves, while defensive perks keep you from being overwhelmed. In team settings, a Heavy Gunner can anchor objectives near spawn points or power stations, providing continuous suppression that allows teammates to complete objectives or purchase key upgrades.
Pack-a-Punched Sniper Build: High-Risk, High-Reward Round Control
The Pack-a-Punch Sniper Build is tailored for players who excel at precision and timing. This high-risk, high-reward approach hinges on one-shot kills to the head, allowing for round resets and strategic repositioning. Start with a sniper rifle such as the Victus XMR, then take it to Pack-a-Punch to become a one-shot headshot weapon against even high-round zombies. Equip it with the XRK Long Barrel, Monolithic Suppressor, and Thermal Digital Sight to see cloaked or obscured zombies during fog or darkness. As a secondary, choose the Combat Knife with the Stalker perk for silent close-range kills. Perks should include Juggernog, Quick Revive (if playing solo), and Widow’s Wine: the sticky grenades slow zombies and reduce incoming damage, creating windows for precise shots. To optimize this build, camp near barrier break stations where zombies enter in manageable waves—landing headshots allows you to quickly reload and reposition as the horde resets. Use the Ring of Fire tactical to funnel zombies into narrow choke points and leverage the cluster grenade field upgrade for additional round clearing. While this build demands patience and pinpoint accuracy, its ability to reset rounds and handle late-game hordes singlehandedly makes it a top-tier choice for experienced players craving control over waves.
Team Synergy Build: Cooperative Crowd Management
For coordinated teams, synergy builds leverage complementary roles—an assault rifle user, an LMG suppressor, a support player handling utilities, and a run-and-gunner picking off stragglers. Each player’s loadout focuses on specific tasks: one anchors with an MG 82 (Select Fire Grip, 14.5” Tri-Tac Barrel, 100-Round Belt), another roams with a Kastov-74U (Monolithic Suppressor, Tigershark Grip, Long Barrel), while a support player uses an ARX-160 configured for headshot criticals (Bruen Q900 Grip, 15.7” Tundra Pro Barrel) to prioritize crawler cleanup, and the final slot carries a Ray Gun optimized through Pack-a-Punch for decimating minibosses.
Perk distribution is equally specialized: Juggernog and Stamin-Up on the anchor to hold down ground, Speed Cola and Deadshot on the roamer for fast engagements, Quick Revive and Scavenger on support to replenish teammates, and Electric Burst (field upgrade) to shock incoming horde across wide lanes. To maximize this synergy, designate roles before starting: the anchor holds the power room for points and Map reveals; the roamer collects power-ups and headshots down stragglers; support maintains PaP machines and ammo caches; the last player scouts for round triggers and purchases. This coordinated approach ensures that each horde wave is parsed into manageable segments, crowd sizes remain manageable, and no single player becomes overwhelmed. Clear communication—calling out crawler spawns, power-up locations, and zombie noise—tightens this synergy, allowing for smooth high-round progression and enabling teams to reach rounds 50+ consistently.
Survival Build Comparison Table
| Build | Primary Weapon & Attachments | Secondary Weapon | Perk Combination | Strengths | Ideal Rounds |
|---|---|---|---|---|---|
| Elemental Core | Kastov-74U: 19.7” Long Barrel, Tigershark Grip, Monolithic Suppressor, 45-Round Mag | Combat Shotgun: Sawed-Off Barrel, Dragon’s Breath rounds, Slug Ammo | Juggernog, Speed Cola, Deadshot Daiquiri | Versatile crowd control, high mobility, balanced damage | Rounds 1–25 |
| Heavy Gunner | MG 82: Select Fire Grip, 14.5” Tri-Tac Barrel, 100-Round Belt | RPG-7 | Juggernog, Speed Cola, Stamin-Up | Sustained suppressive fire, high durability | Rounds 15–50+ |
| Pack-a-Punched Sniper | Victus XMR (Pack-a-Punched): XRK Long Barrel, Monolithic Suppressor, Thermal Digital Sight | Combat Knife | Juggernog, Quick Revive (solo), Widow’s Wine | One-shot kills, round resets, strong late-game potential | Rounds 20–60+ |
| Team Synergy | MG 82 / Kastov-74U / ARX-160 / Ray Gun (Pack-a-Punched) | Role-based secondary: pistol, knife, or none | Juggernog, Stamin-Up / Speed Cola, Deadshot / Quick Revive, Scavenger / Electric Burst | Coordinated crowd management, role specialization, strong point holds | Rounds 10–50+ |
Conclusion
Surviving Call of Duty’s Zombies mode demands adaptive strategies, precise loadouts, and effective teamwork. Whether you adopt the Elemental Core’s balanced approach, leverage the Heavy Gunner’s sustained suppression, master the Pack-a-Punch Sniper’s precision, or coordinate as a specialized team, each build offers unique advantages at different round thresholds.
Prioritize utility in early rounds, transition to high-damage weapons as zombies scale in health and speed, and synchronize perks to enhance both individual performance and team synergy. By internalizing the strengths and weaknesses outlined in the Survival Build Comparison Table, you can streamline your path to high rounds—defying the undead tide and ensuring you stay alive longer than ever before.
Hey there! I’m Susan Sullivan, a gaming journalist with a penchant for discovering hidden virtual realms. Armed with a keyboard and an insatiable curiosity, I dive headfirst into pixelated landscapes, unearthing untold stories and weaving them into vivid narratives that transport readers to uncharted gaming territories. From unearthing forgotten Easter eggs to decoding complex game mechanics, I’m your go-to guide for all things gaming. With a cup of coffee always by my side, I embark on a quest to bring you the latest gaming scoop, unraveling virtual mysteries one pixel at a time. Join me on this epic adventure!
- Latest Posts by Susan Sullivan
-
Incredible Environmental Easter Eggs and Hidden Details You Completely Missed in the Arc Raiders Hub Area
– -
The Absolute Best PC Graphics Settings to Maximize FPS and Reduce Input Lag in Arc Raiders Competitive Play
– -
Buddy Rescue How to Extract Wounded Teammates
– All Posts


Leave a Reply